

Hey there! As a twist throttle supplier, I've seen my fair share of wiring issues. Trust me, checking the wiring of a twist throttle isn't rocket science, but it does need a bit of know - how. In this blog, I'm gonna walk you through the whole process, step by step.
First off, let's talk about why checking the wiring is so important. A twist throttle is a crucial part of a vehicle, especially in motorcycles and electric scooters. It controls the speed, and if the wiring is messed up, it can lead to all sorts of problems. You might experience inconsistent speed control, or in the worst - case scenario, the throttle might not work at all. So, regular wiring checks can save you a lot of headaches down the road.
Tools You'll Need
Before you start checking the wiring, you'll need a few tools. You'll definitely need a multimeter. It's a handy device that can measure voltage, resistance, and continuity. You'll also need a set of screwdrivers, both flat - head and Phillips - head, to open up the throttle housing. And don't forget a pair of wire strippers in case you need to repair or replace any wires.
Safety First
Safety should always be your top priority when working with electrical components. Make sure the vehicle is turned off and the battery is disconnected. This will prevent any electrical shocks or short - circuits. Also, wear protective gloves and safety glasses to protect yourself from any potential hazards.
Step 1: Inspect the Exterior
The first thing you want to do is take a good look at the outside of the twist throttle. Check for any visible damage to the wires, like cuts, frays, or burns. Sometimes, the problem can be as simple as a wire that's been pinched or chewed on by an animal. If you see any damage, mark the affected area with a piece of tape so you can focus on it later.
Step 2: Open the Throttle Housing
Using your screwdrivers, carefully open up the throttle housing. Be gentle, as you don't want to break any of the plastic parts. Once the housing is open, you'll be able to see the wiring inside. Take a moment to familiarize yourself with the layout of the wires. Different models might have different wiring configurations, but most twist throttles have a power wire, a ground wire, and a signal wire.
Step 3: Check for Loose Connections
Once you can see the wiring, check for any loose connections. Wiggle each wire gently to see if it moves. If a wire is loose, it might not be making proper contact, which can cause electrical problems. If you find a loose connection, tighten it using a pair of pliers or a screwdriver, depending on the type of connection.
Step 4: Test the Continuity
Now it's time to use your multimeter. Set it to the continuity setting, which usually looks like a sound wave symbol. Touch one probe of the multimeter to one end of a wire and the other probe to the other end. If the multimeter beeps, it means there's continuity, which is a good sign. If it doesn't beep, there's a break in the wire somewhere. You can use this method to test each wire in the throttle.
Step 5: Check the Resistance
Next, set your multimeter to the resistance setting. This will help you determine if the wires are in good condition. Each wire should have a specific resistance value, which you can find in the throttle's user manual. Compare the resistance value you measure with the recommended value. If the measured value is way off, it could mean there's a problem with the wire.
Step 6: Test the Power and Ground Wires
The power and ground wires are essential for the throttle to work properly. Use your multimeter to test the voltage of the power wire. Connect the positive probe of the multimeter to the power wire and the negative probe to the ground wire. You should get a reading that matches the voltage of the vehicle's battery. If the voltage is too low or too high, there might be a problem with the wiring or the power source.
Step 7: Check the Signal Wire
The signal wire is what sends the throttle position information to the vehicle's control unit. To test the signal wire, you'll need to turn on the vehicle (but keep it in neutral). Slowly twist the throttle while monitoring the voltage on the signal wire using your multimeter. The voltage should increase smoothly as you twist the throttle. If the voltage jumps around or doesn't change at all, there could be a problem with the signal wire or the throttle sensor.
Step 8: Look for Corrosion
Corrosion can also cause wiring problems. Check for any signs of corrosion on the wires or the connectors. Corrosion looks like a white or greenish - blue powdery substance. If you find corrosion, you can clean it off using a wire brush and some electrical contact cleaner. Make sure to dry the area thoroughly before reassembling the throttle.
Step 9: Reassemble the Throttle
Once you've completed all the checks and made any necessary repairs, it's time to put the throttle back together. Carefully place all the parts back in the housing and tighten the screws. Make sure everything is properly aligned and there are no loose parts.
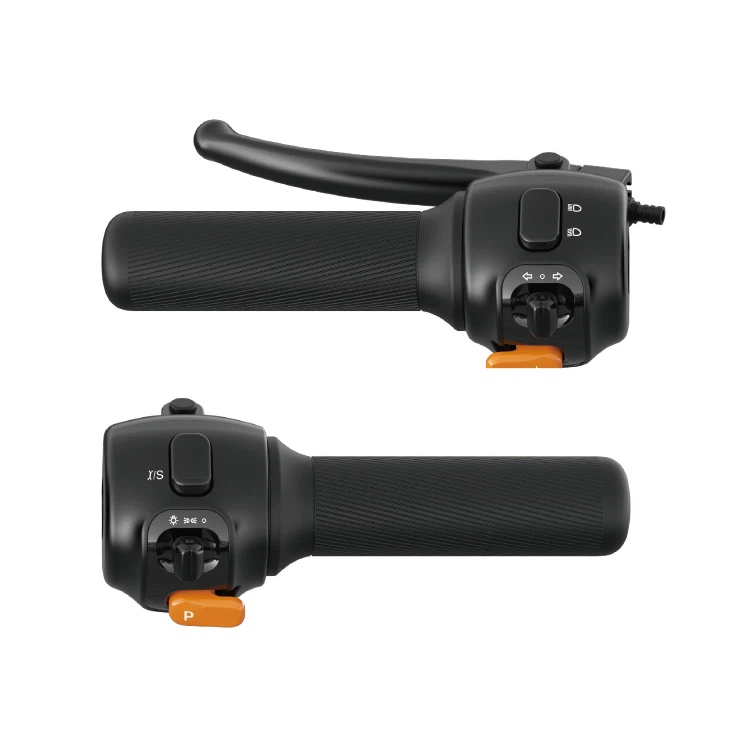

Step 10: Test the Throttle
After reassembling the throttle, reconnect the battery and turn on the vehicle. Test the throttle to make sure it's working properly. The speed should increase smoothly as you twist the throttle, and there should be no strange noises or vibrations.
Now, let me tell you a bit about the twist throttles we offer at our company. We have a wide range of high - quality twist throttles, like the A25, A03, and A31. These throttles are designed to be reliable and easy to install, and they come with detailed wiring diagrams to make the installation and wiring check process a breeze.
If you're in the market for a new twist throttle or have any questions about wiring checks, don't hesitate to reach out. We're here to help you find the right throttle for your needs and ensure that it's installed and wired correctly. Contact us to start a purchase negotiation, and let's get your vehicle up and running smoothly!
References
- Motorcycle and Electric Scooter Repair Manuals
- Multimeter User Guides